

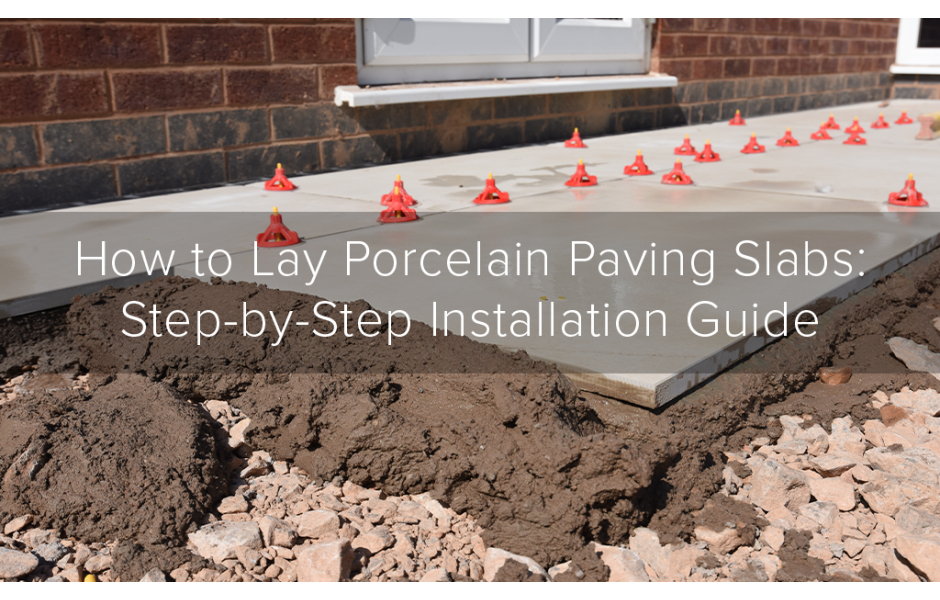
This blog explains the process of laying a porcelain patio from start to finish using the full Rock-Tite system. Alternative products are available, but we advise using Rock-Tite for the best results.
The best way to ensure your porcelain paving lasts for years to come is to install it correctly from the start. We would not recommend this as a DIY project unless you are confident and have experience with similar work.
How to prepare for laying Porcelain Paving
- Measure the space where you’ll be laying the patio
- Pick your Porcelain from our extensive range, choose the size you want, and calculate the number of slabs needed
- (Optional) Have your porcelain Cut or Profiled ready for your project. If you are cutting the porcelain yourself, you will need a specialist porcelain saw. (available from TTH)
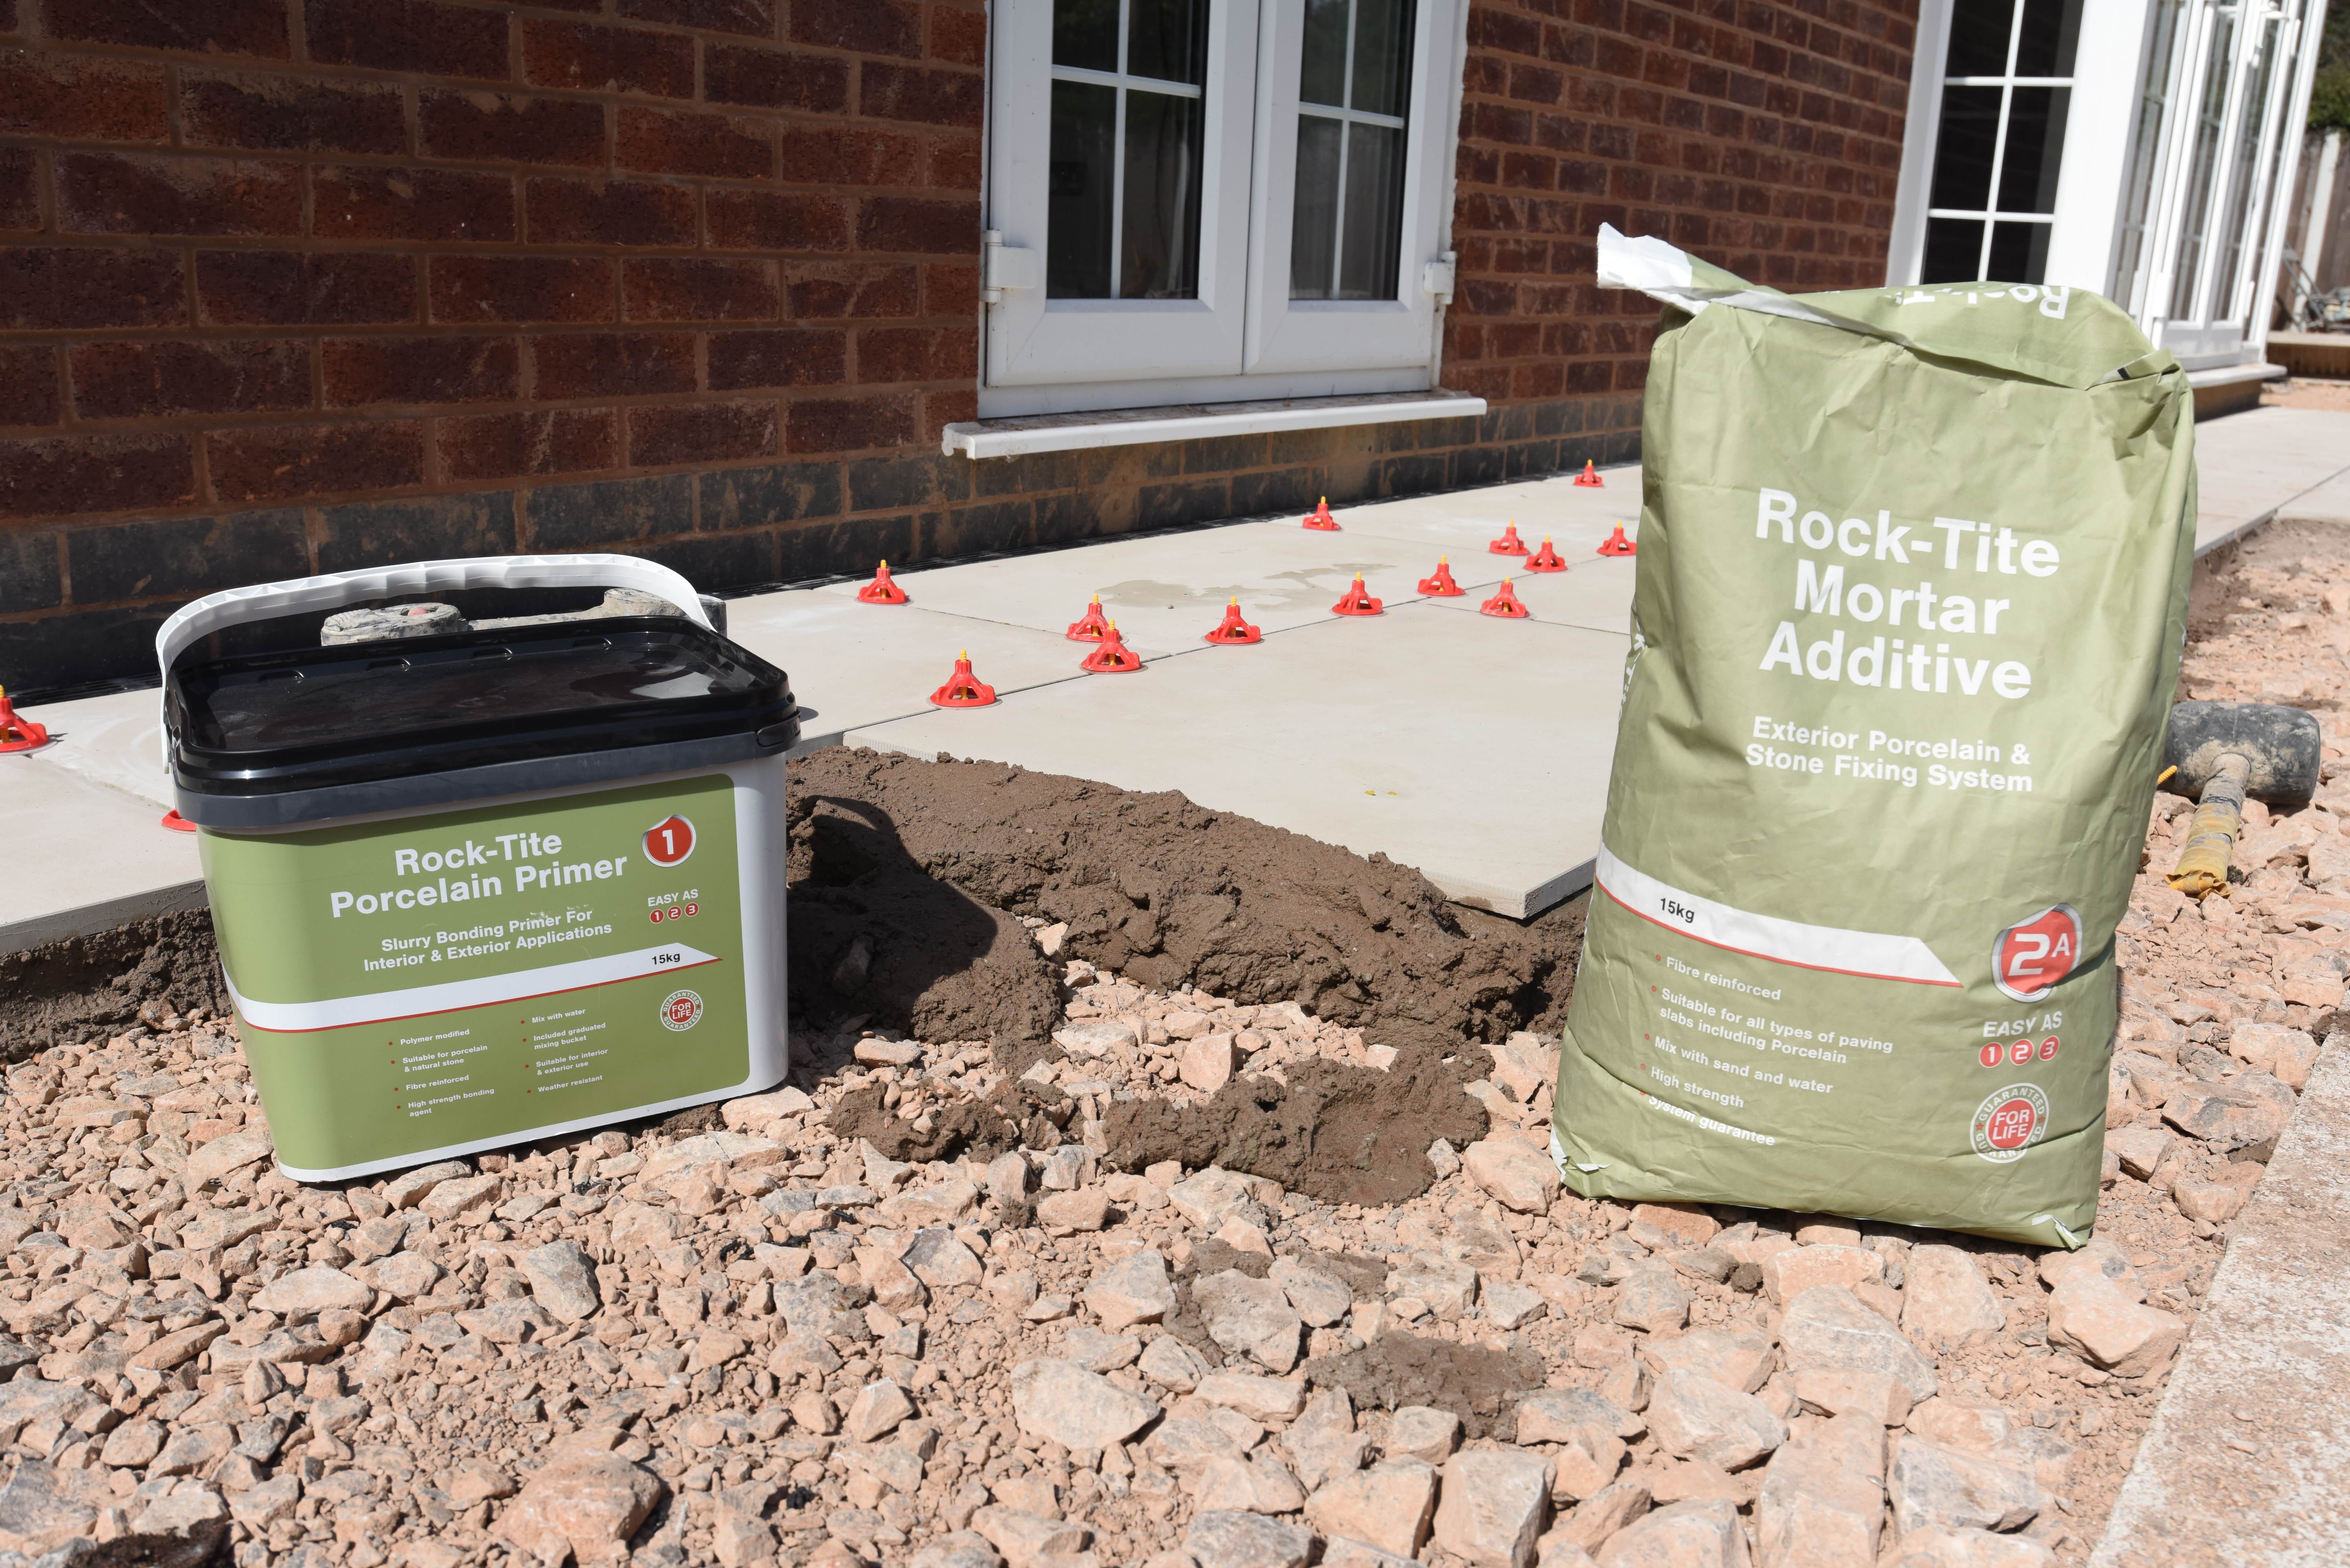
- Pick your laying materials: MOT Type 1, primer, mortar, and grout
- Choose any additional products such as blocks, decorative aggregates, and drainage if applicable
- Hire any equipment if you don’t already have it. Tool hire
- Collect everything or arrange delivery to site
The Process of Laying Porcelain Paving
- Dig out 150mm.
- Lay a compacted MOT Type 1 sub-base (50–100mm).
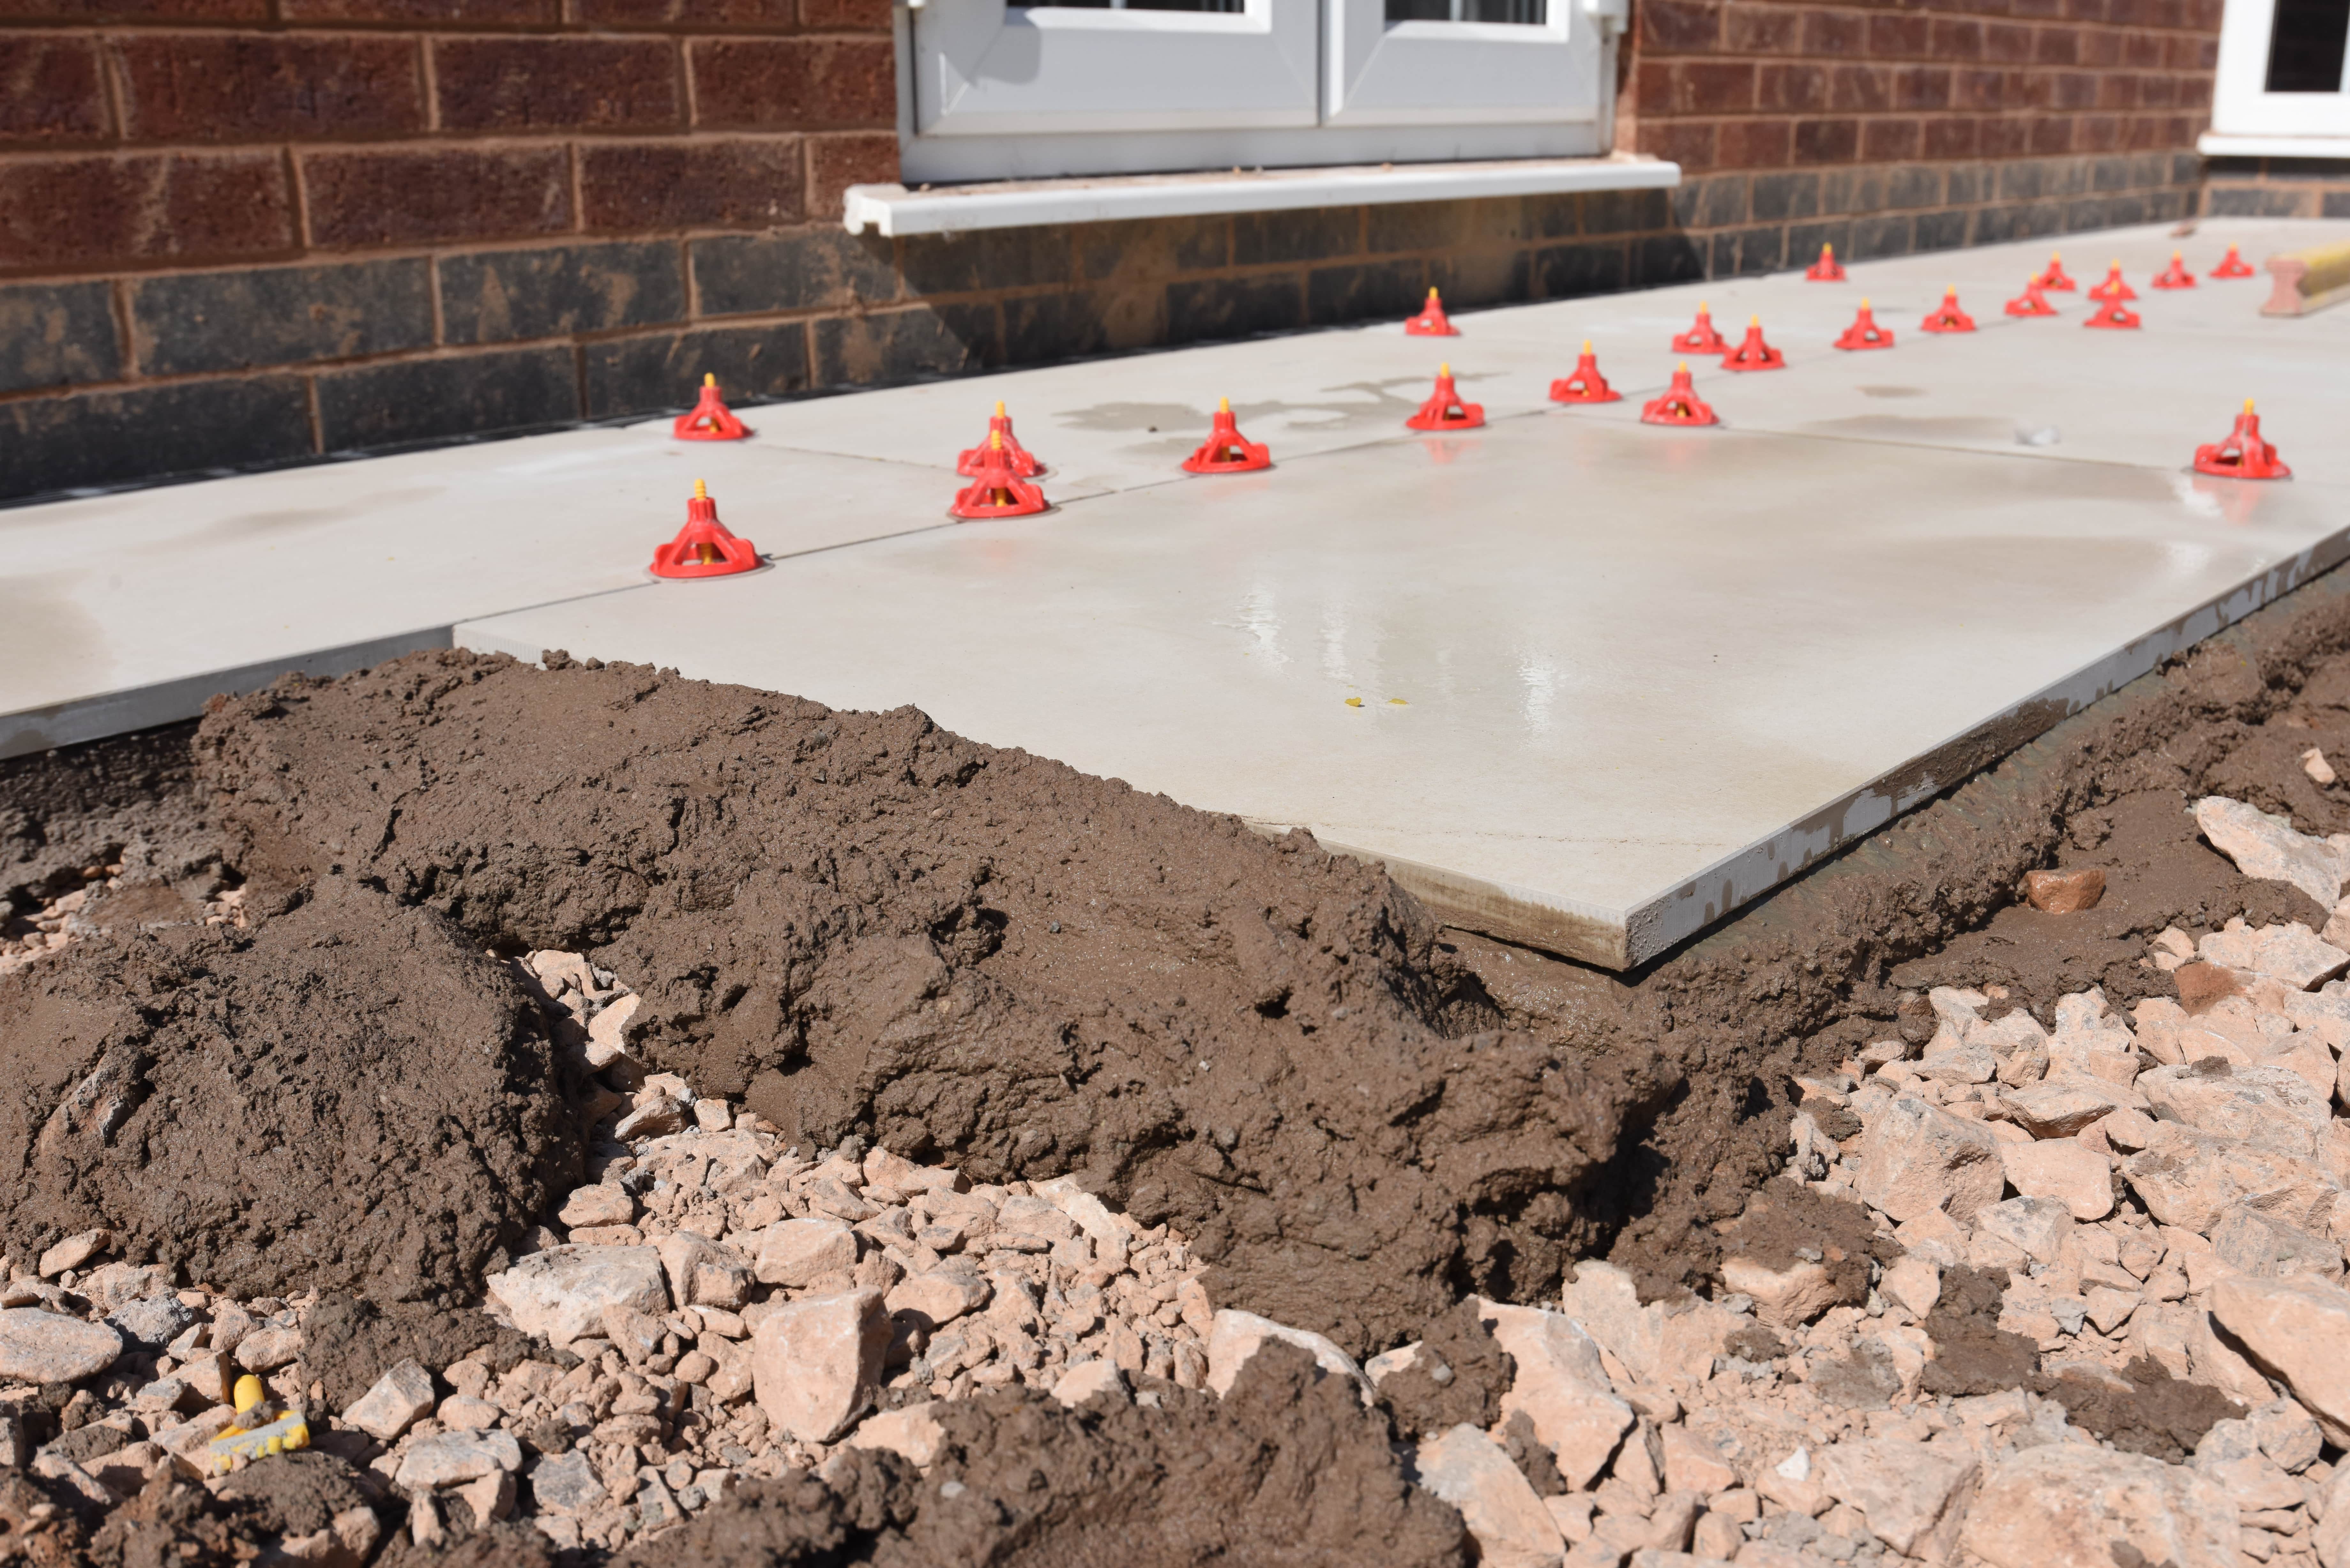
- Mix and lay a mortar bed (25–50mm). Rock-Tite mortar can be laid from 25mm due to the fibres within the mix.
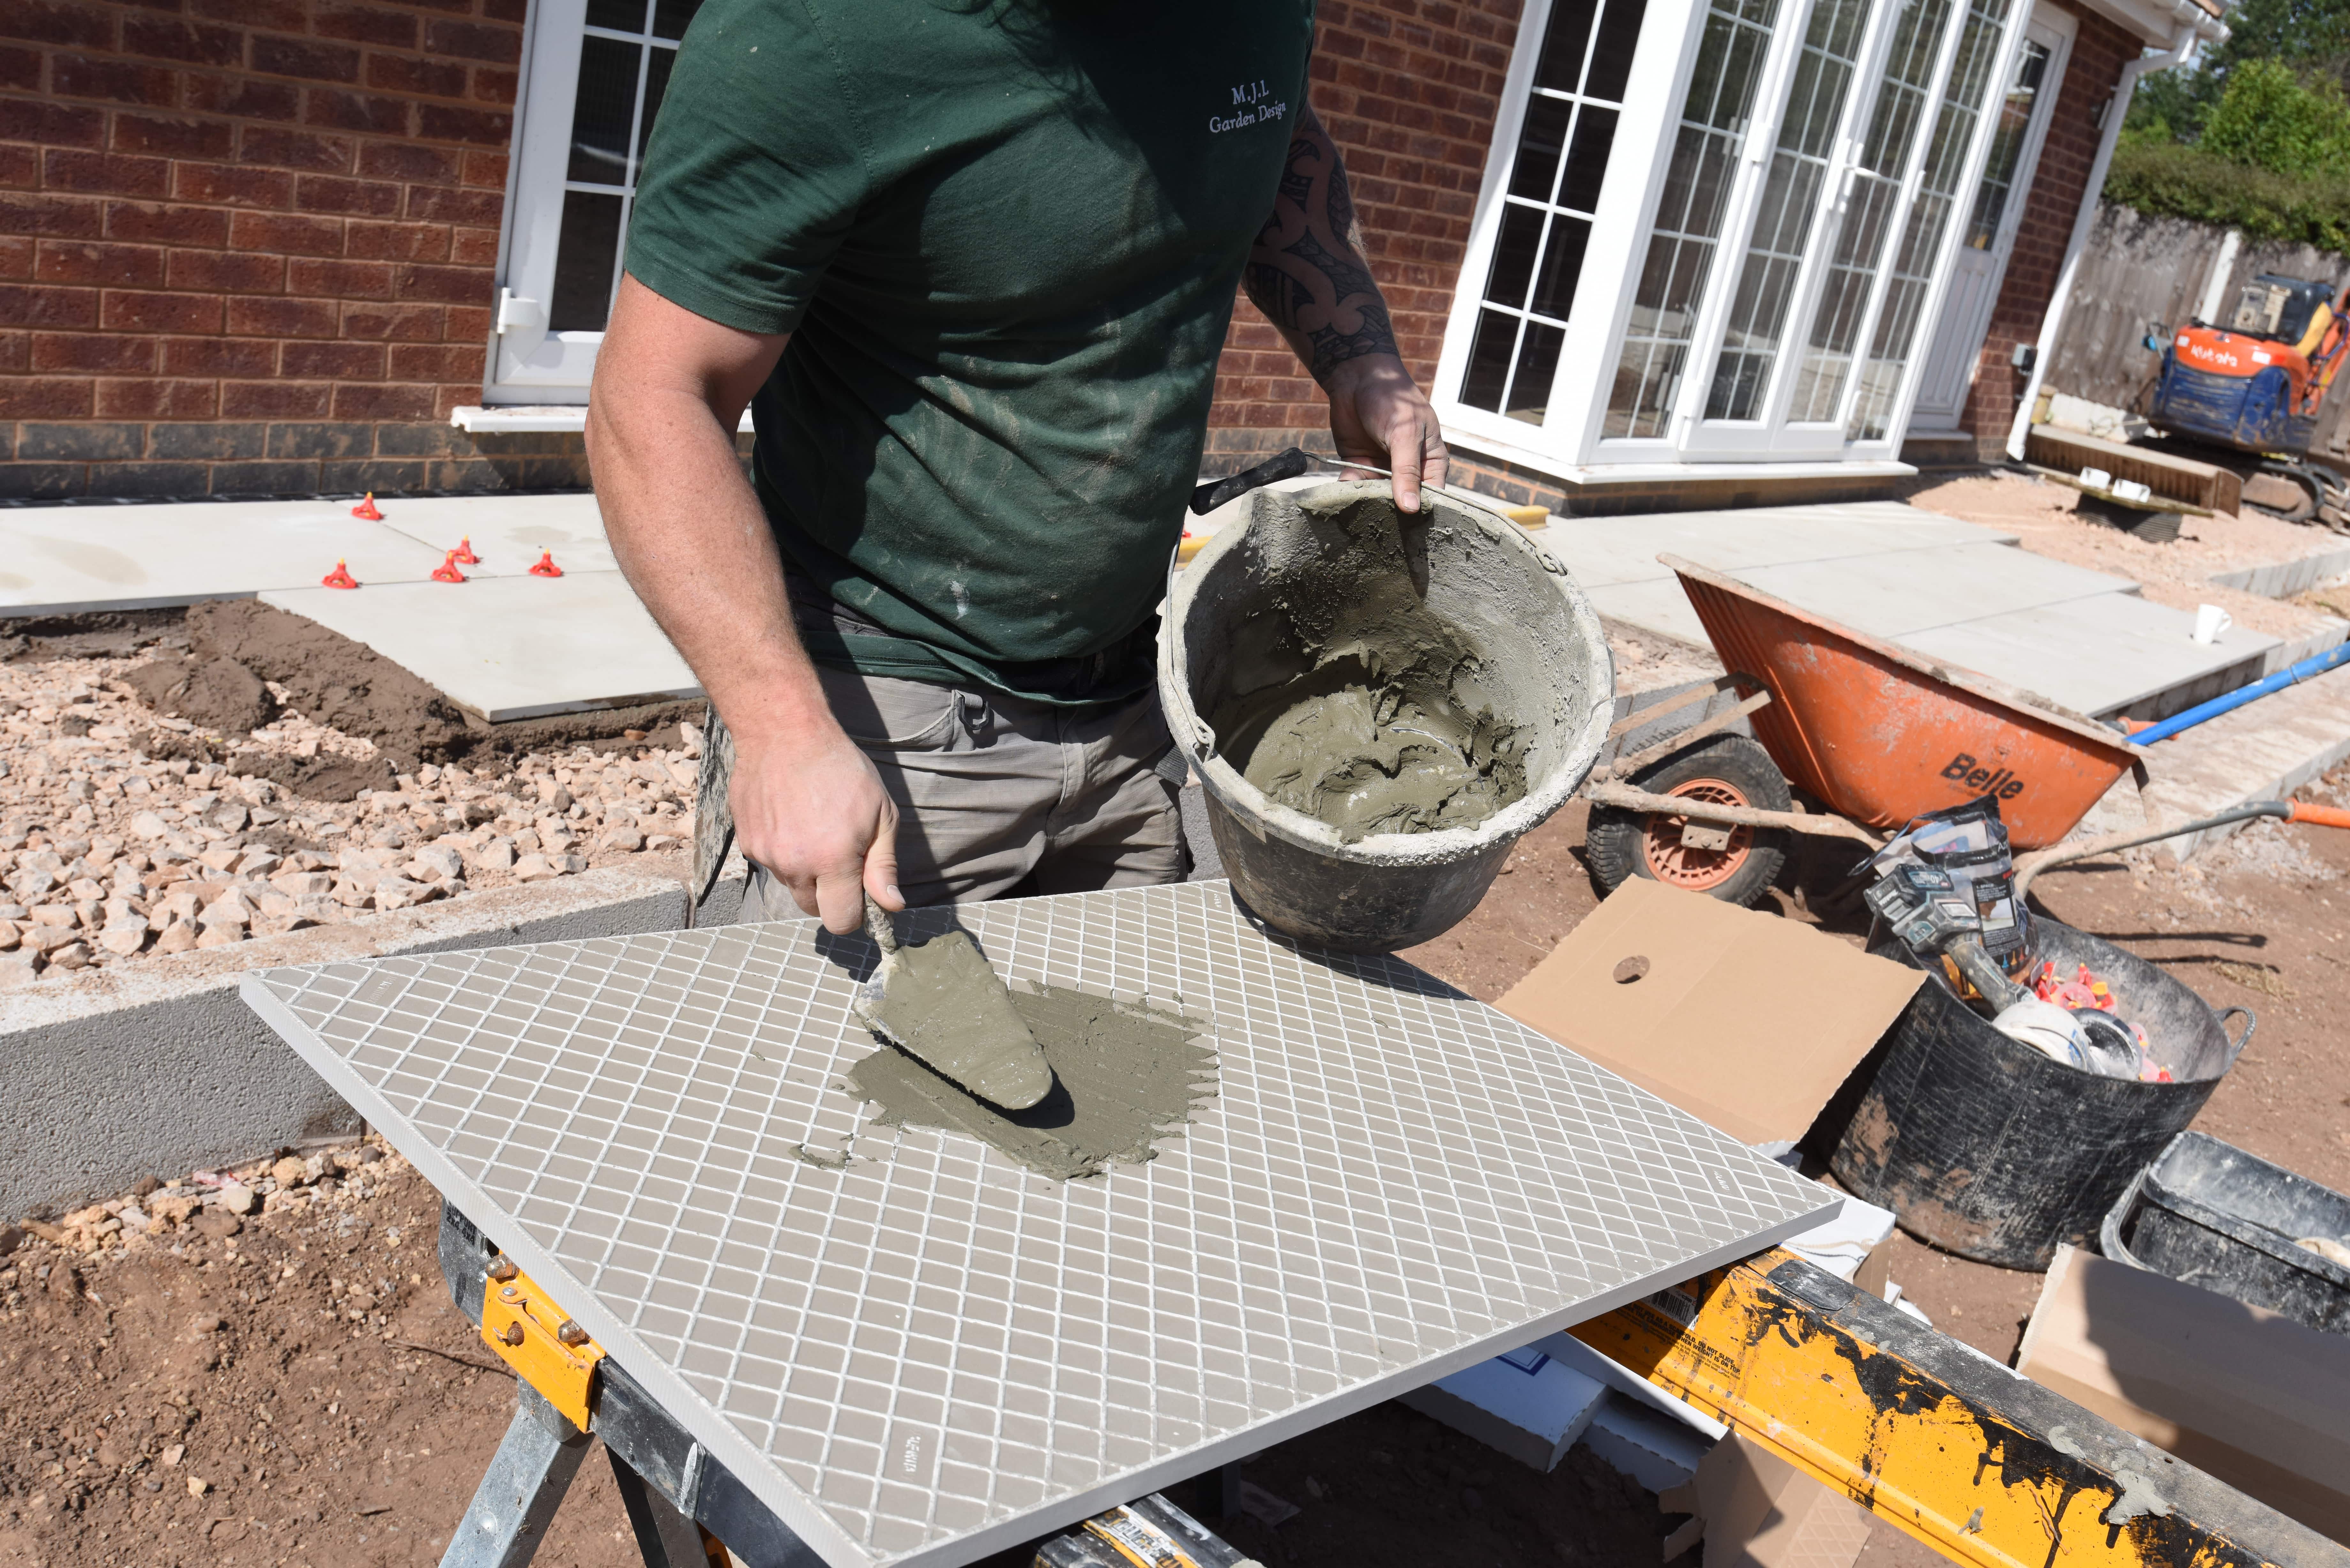
- Mix and apply primer to the back of the tiles to create a strong key for the mortar to bond to.
- Lay the porcelain into the mortar bed, ensuring consistent spacing and checking levels throughout while allowing for adequate drainage falls (approximately 25mm).
- Leave to dry for 24 hours before grouting.
SIDE NOTE: Using the full Rock-Tite system in accordance with a method statement provided by Palace Chemicals gives you a lifetime guarantee.
The Process of Grouting Porcelain Paving
- Wet the surface of the patio ready for grout or jointing compound
- Mix and apply either flow grout or brush in grout
Flow Grout
- Make sure the patio is damp to protect it from the product
- Mix 1 litre of water to 5kg of flow grout until you achieve a soupy consistency, then pour into the joints. The product will naturally self-level.
- Once mixed, the grout will begin to cure, giving approximately 1–2 hours working time.
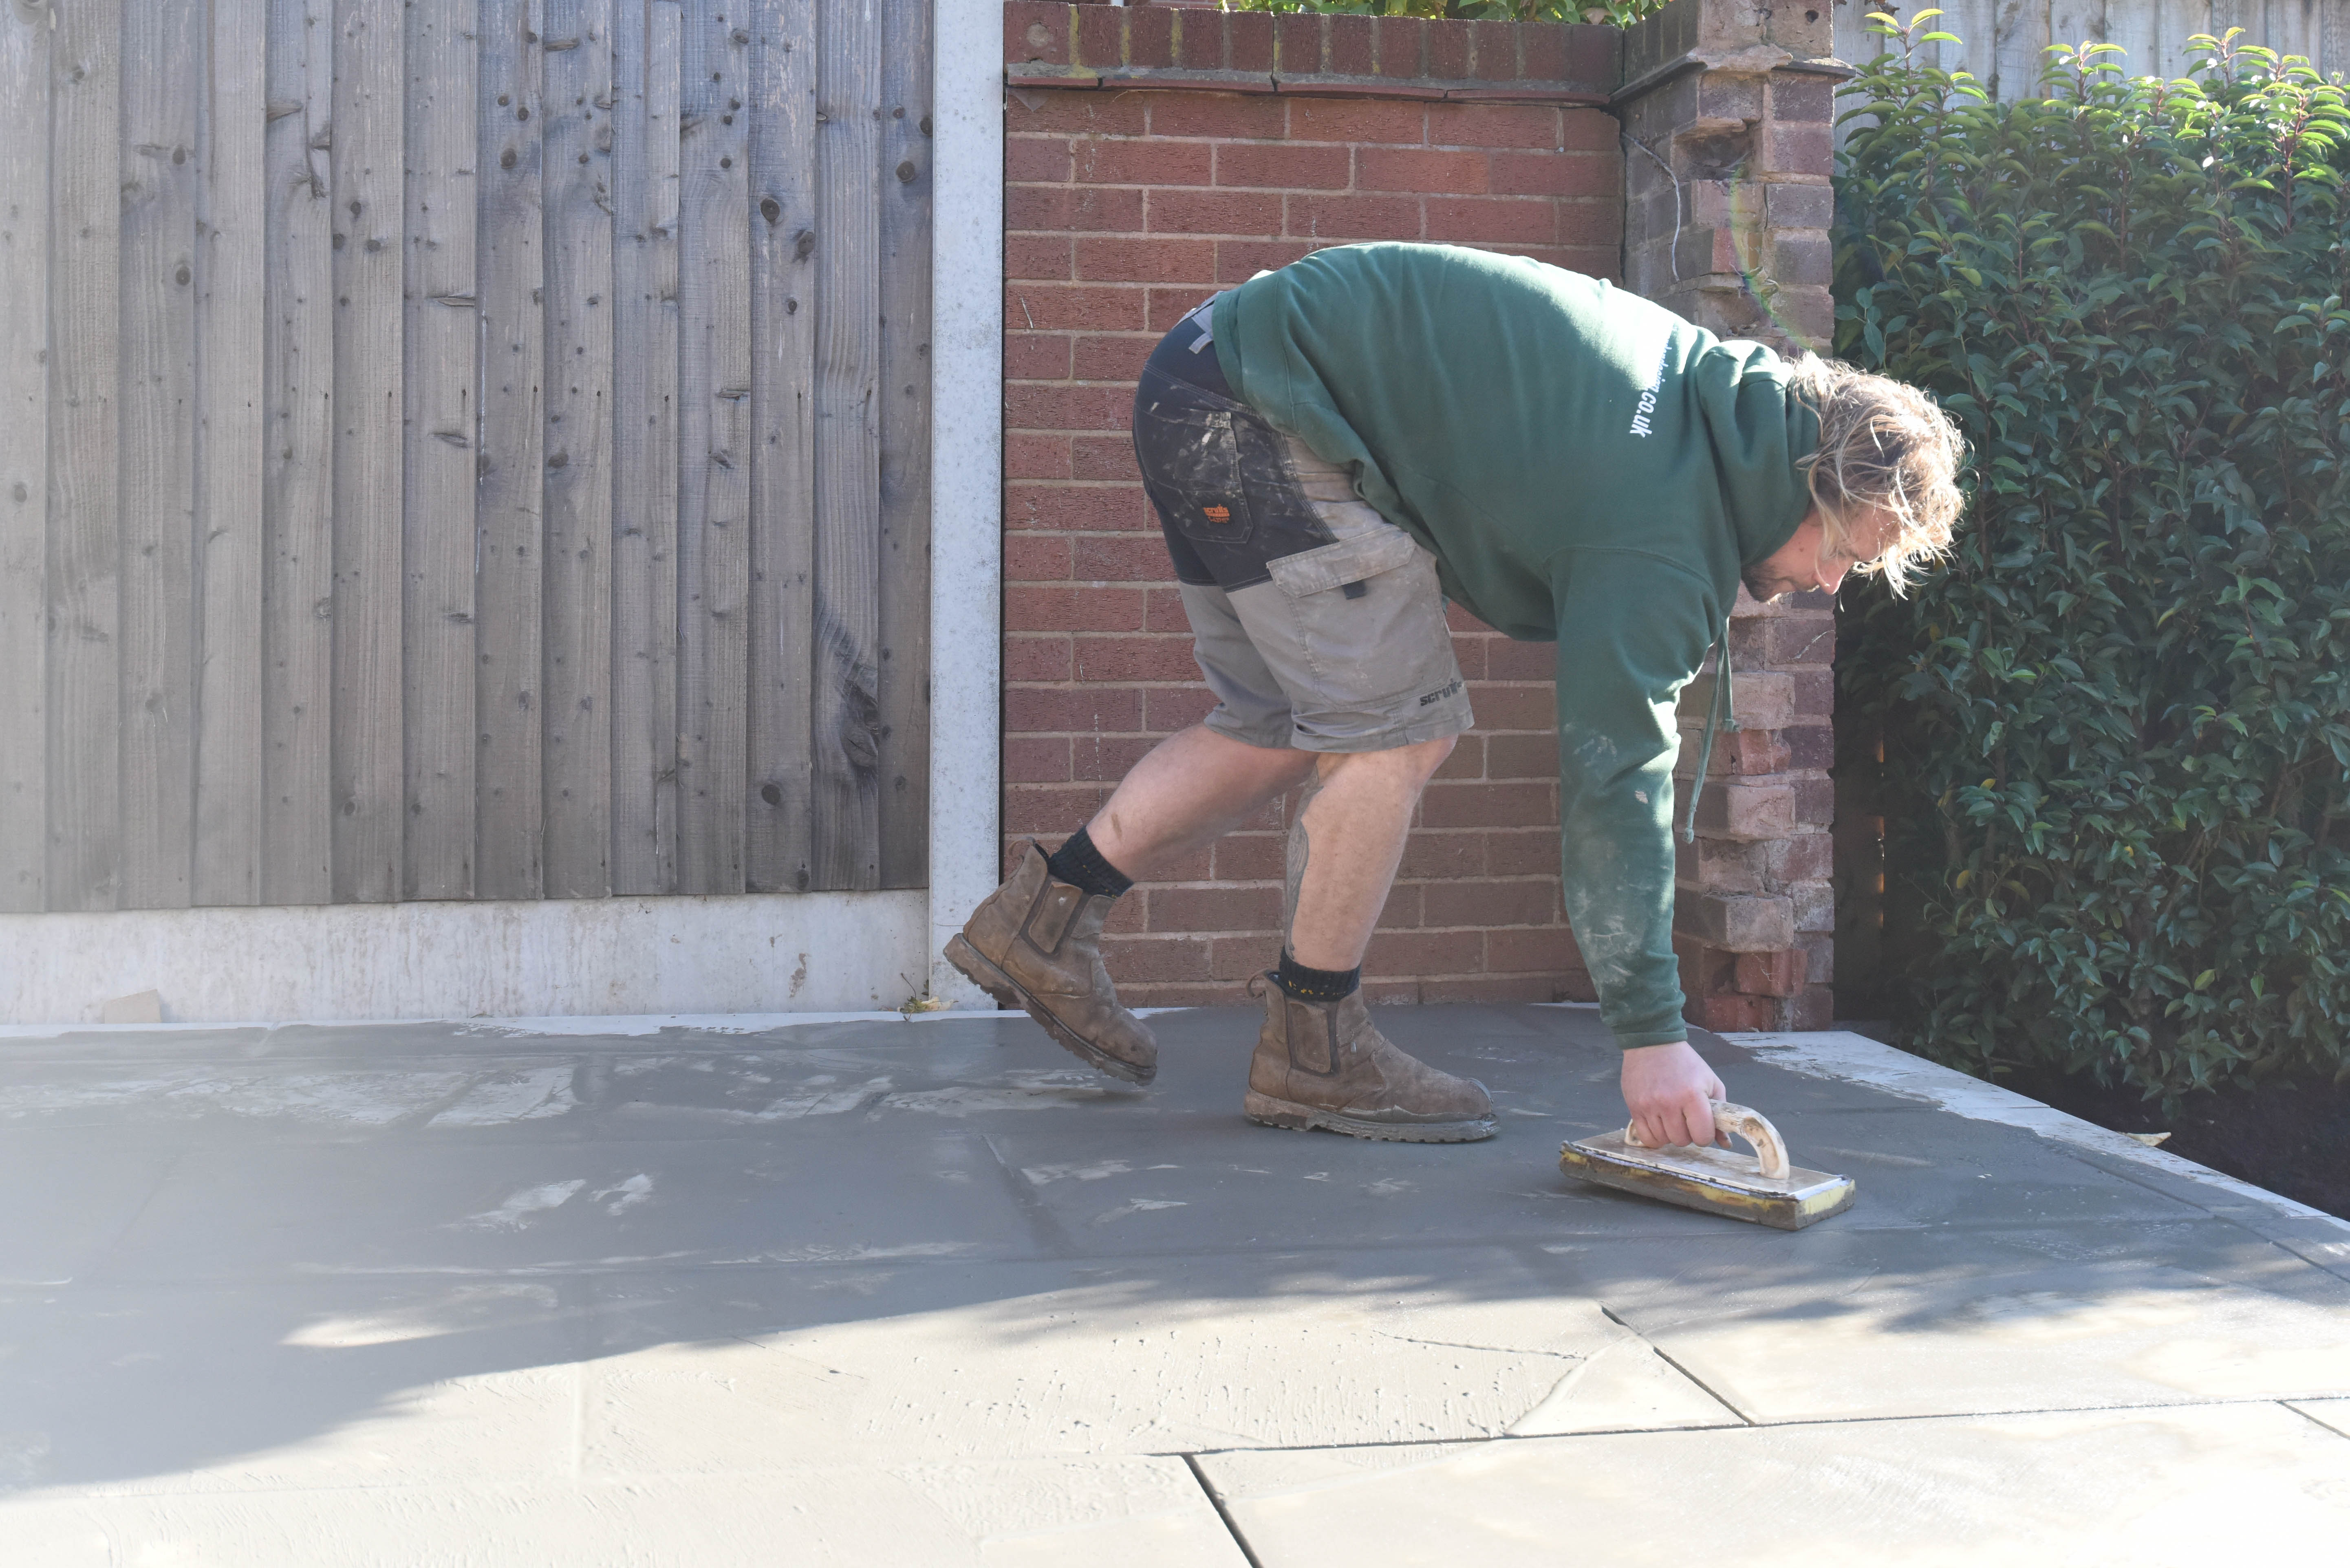
- Push grout into any low spots using a grouting float at a 45° angle to the joints, taking care not to disturb grout that has already started settling
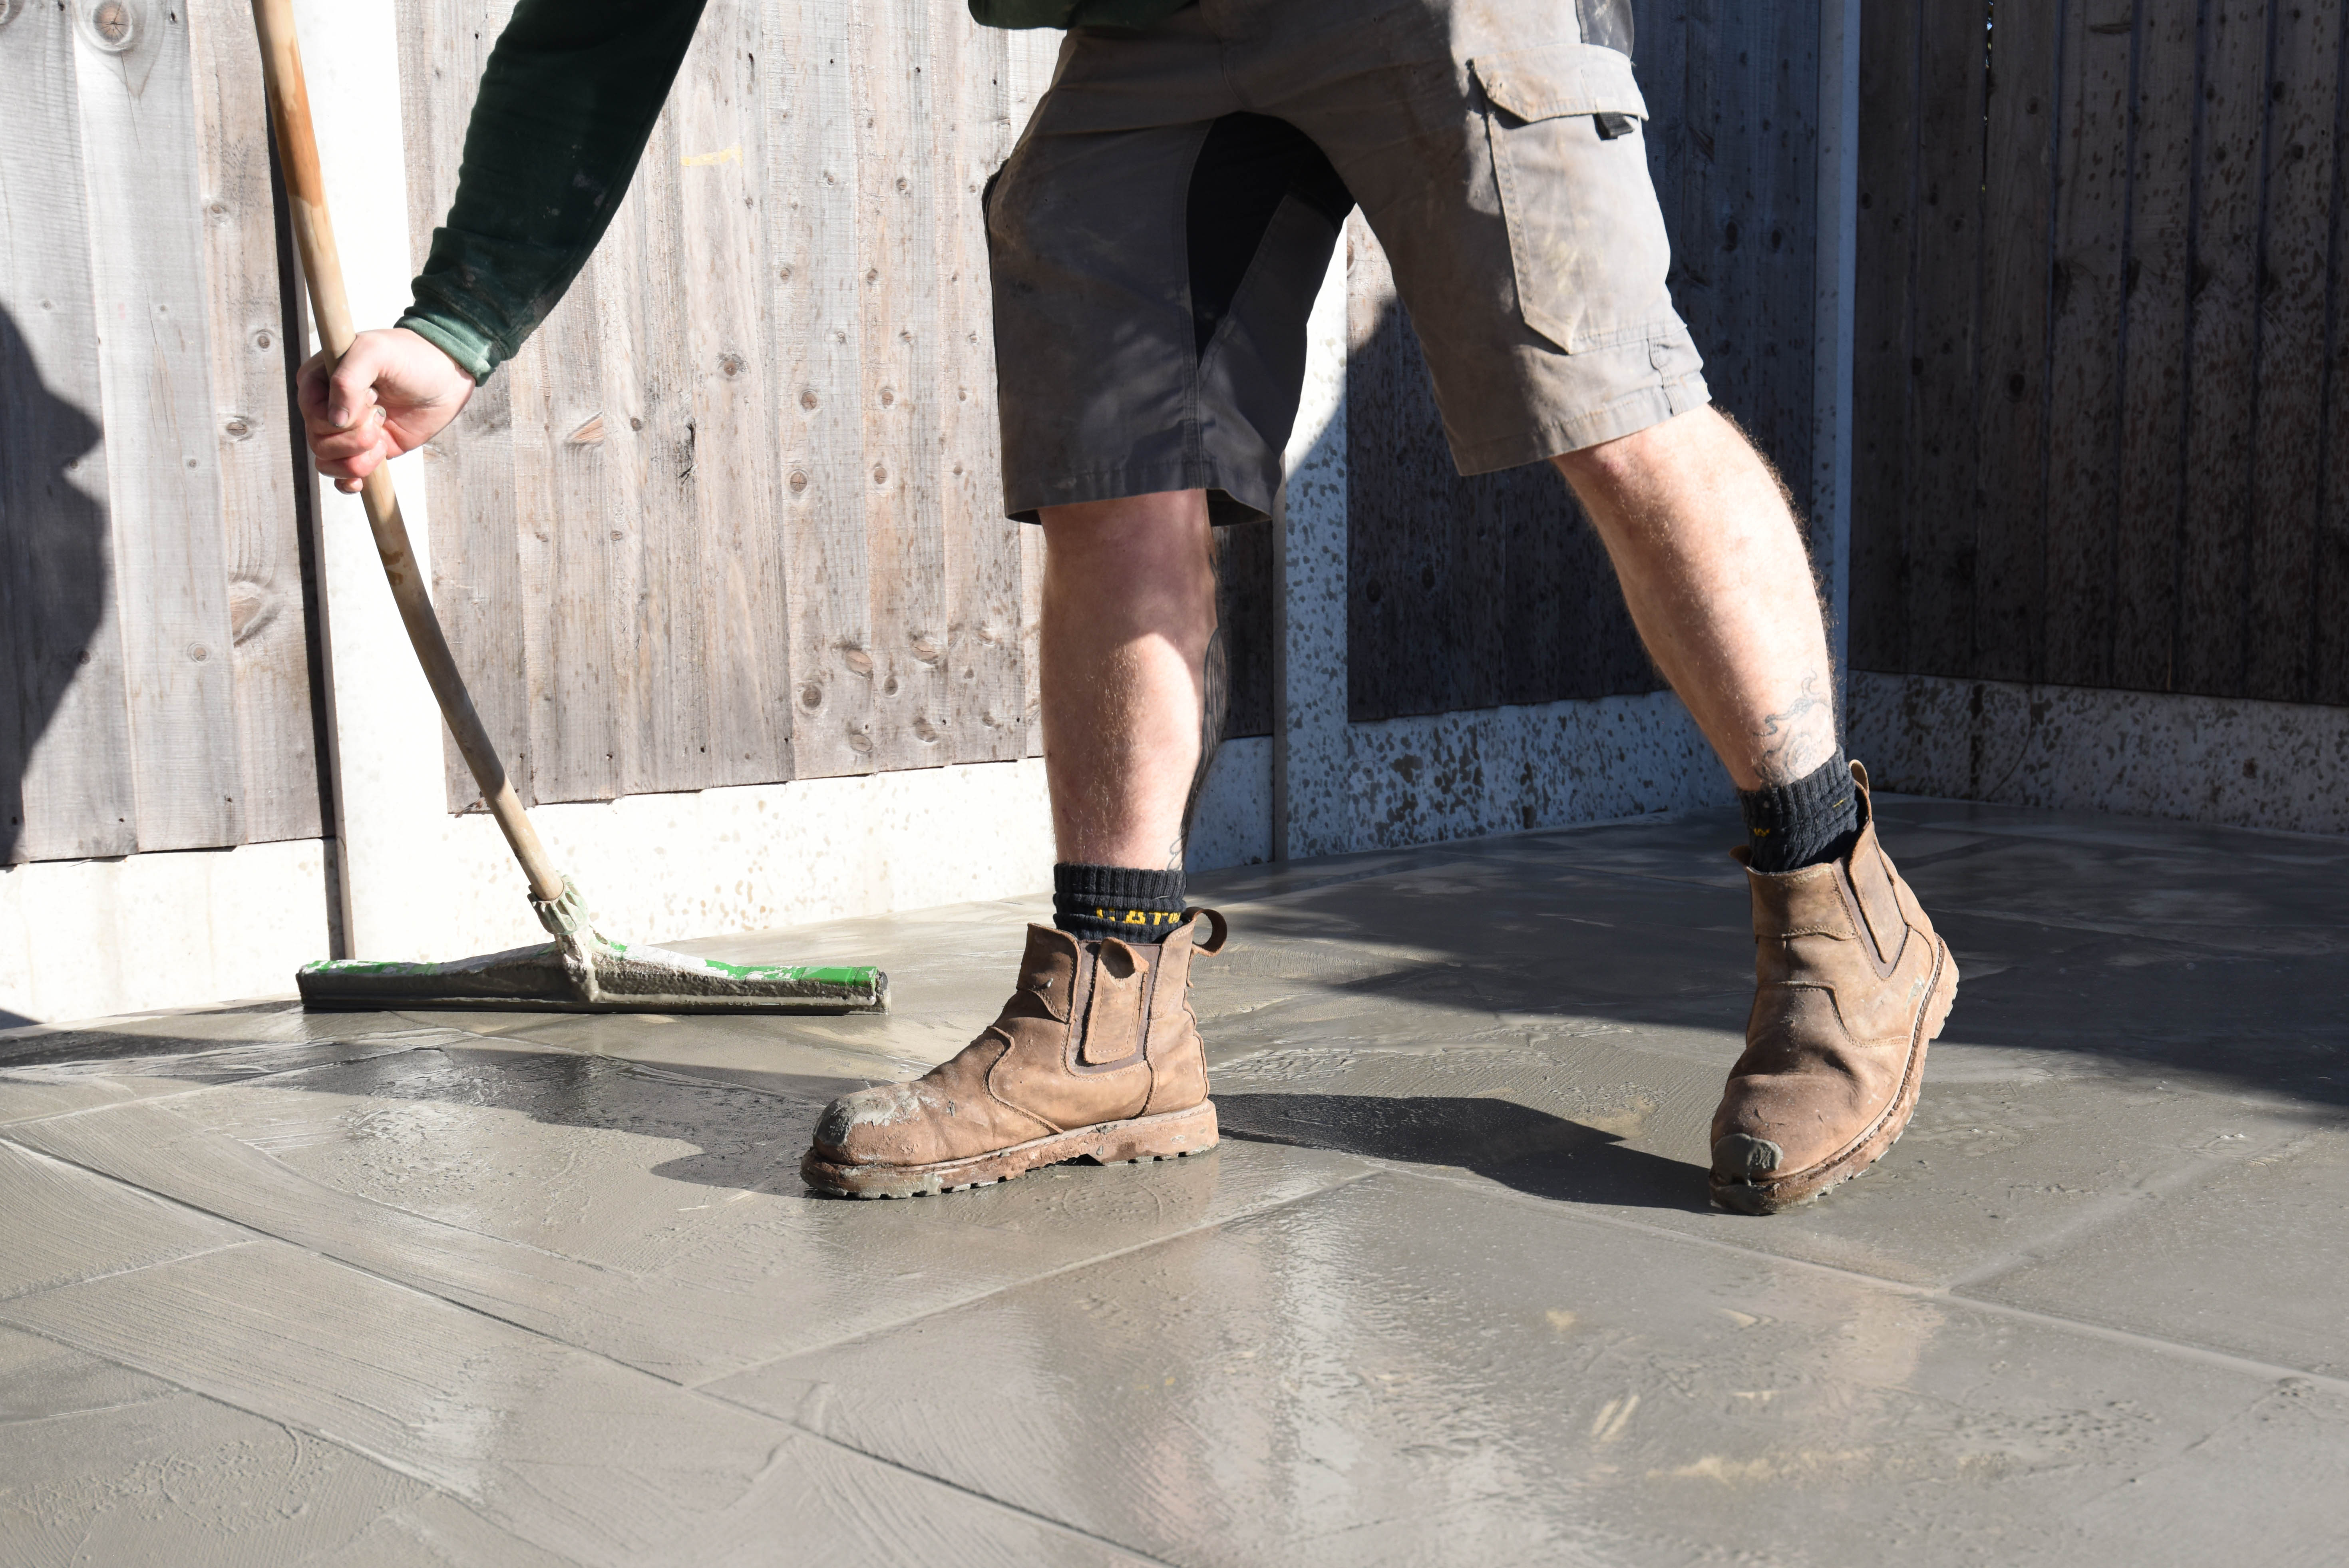
- Once happy with the finish, remove excess grout from the tiles using a squeegee and damp sponge
- Allow to dry fully for 1–2 hours (weather conditions and water saturation will affect drying times)
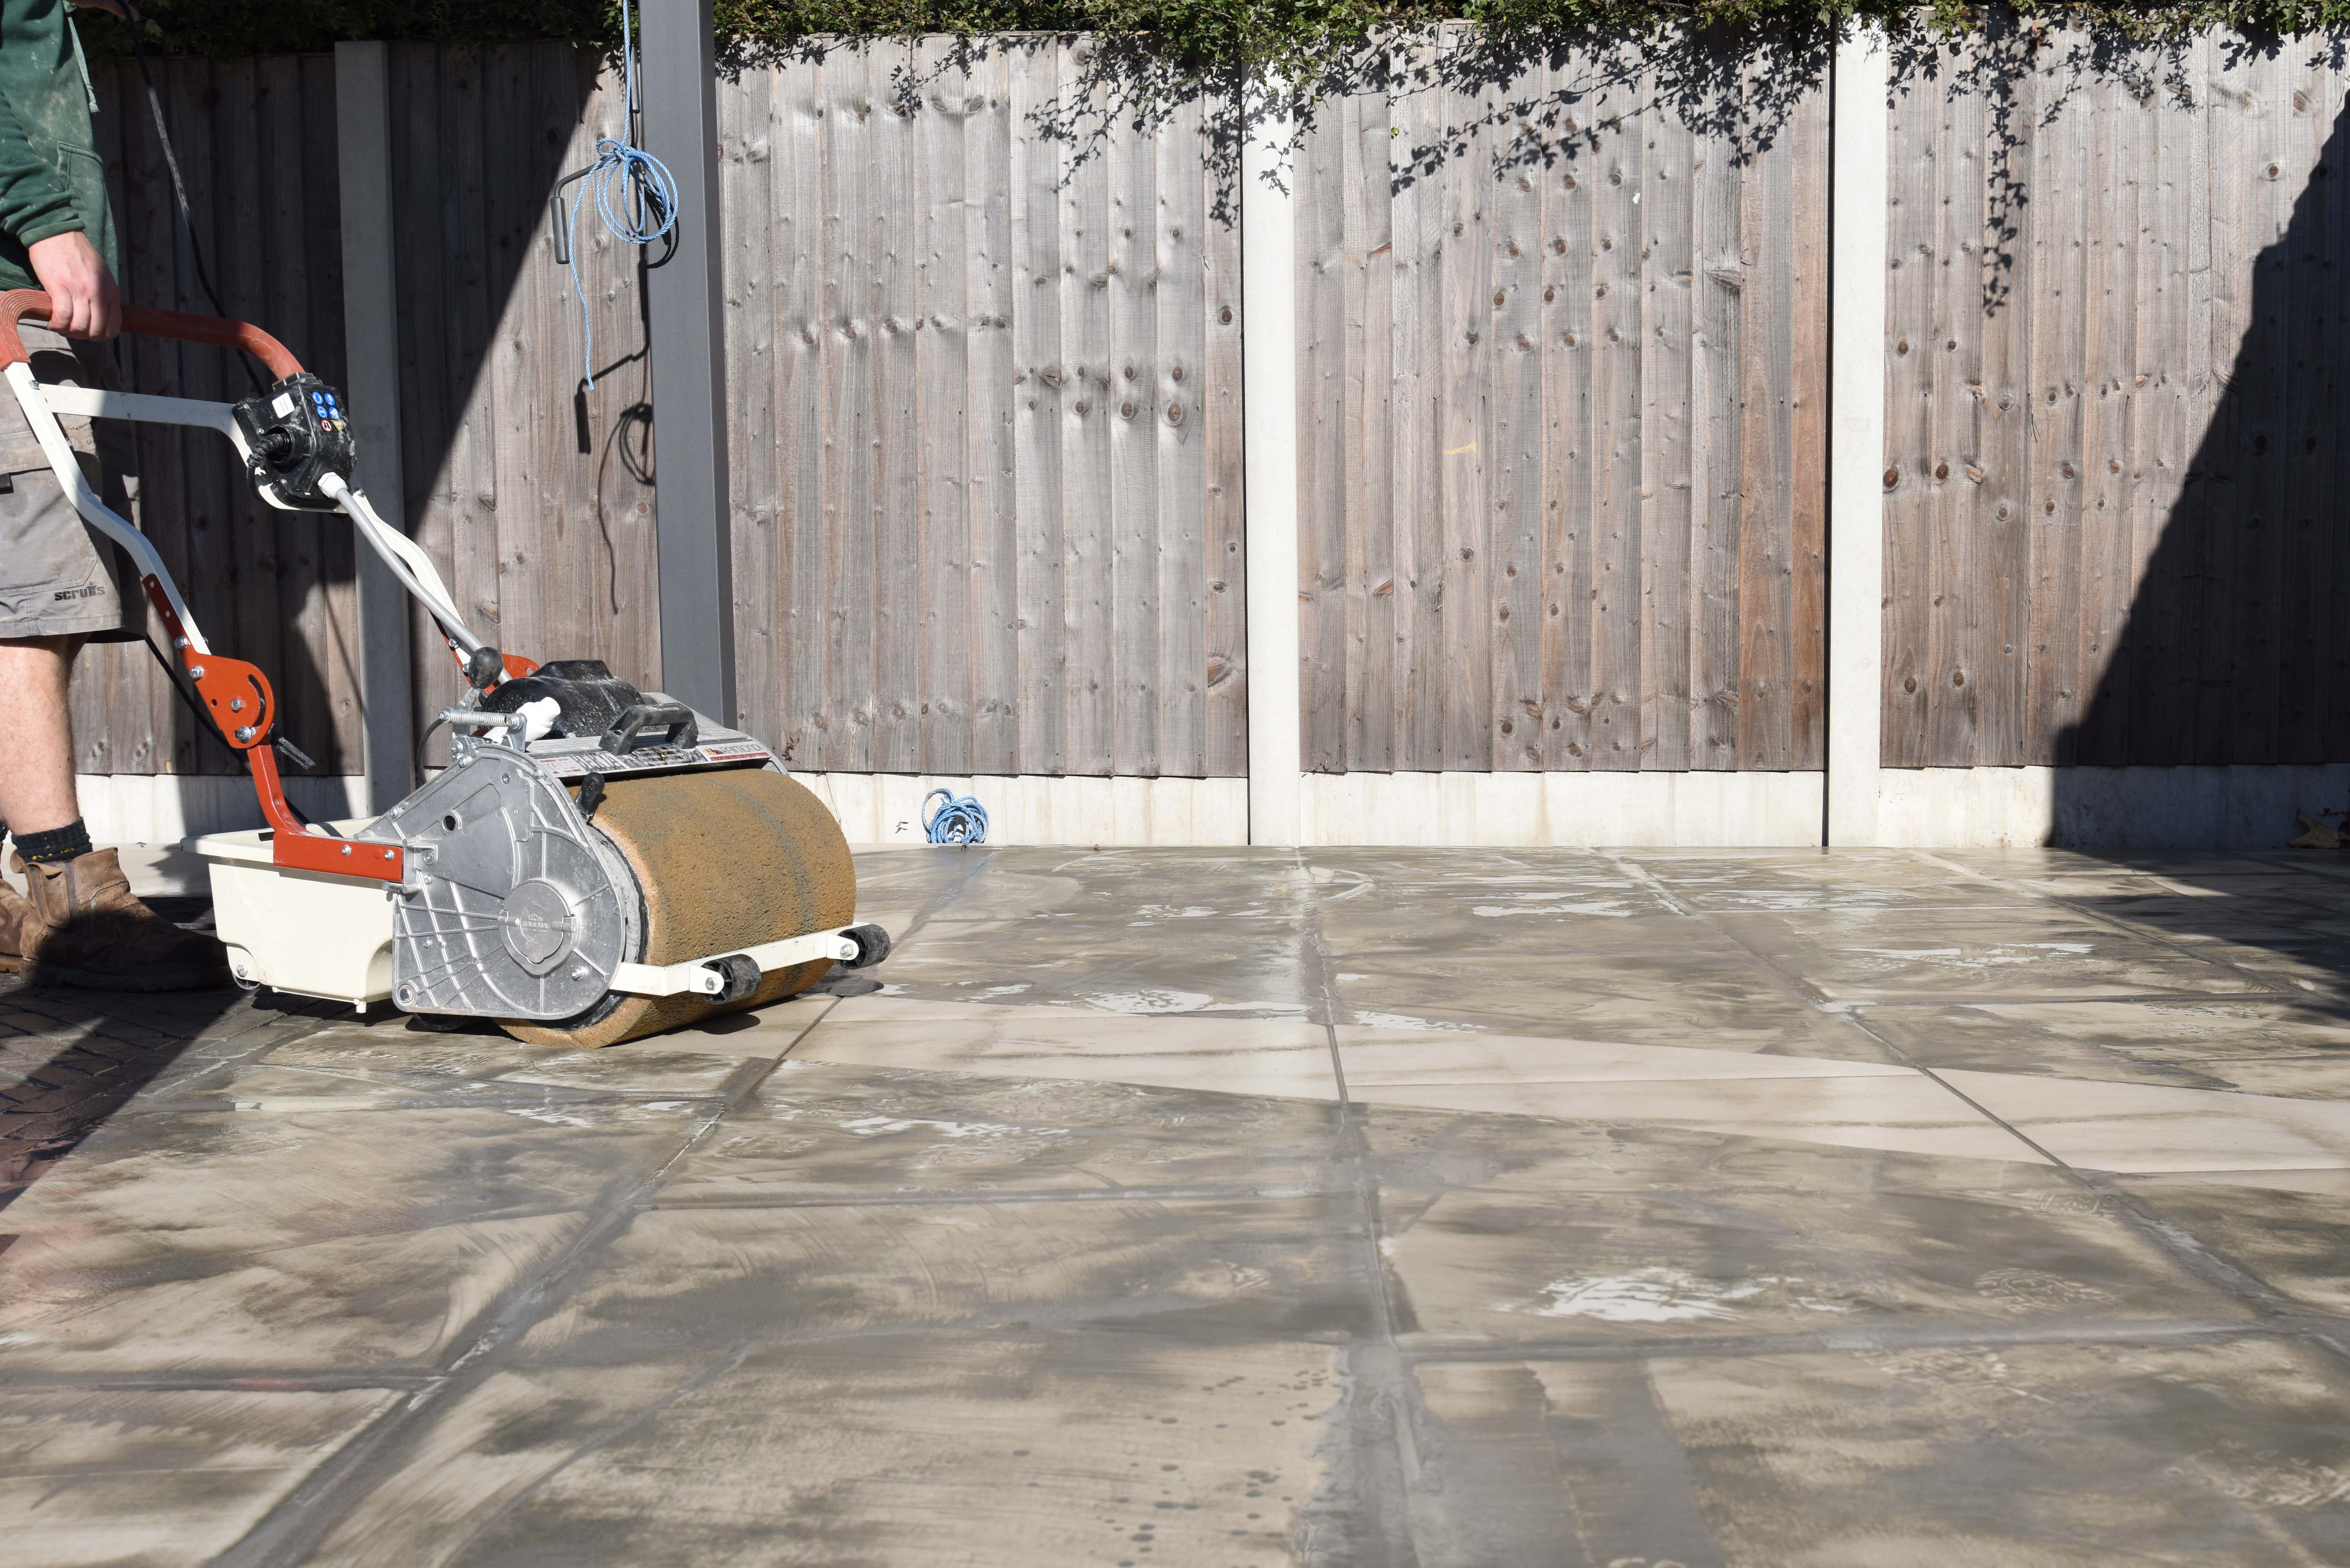
- Using a sponge or Sponge Machine, completely remove any remaining excess grout from the porcelain tiles
Brush in jointing compound
- Make sure the patio is wet to help bond the product and protect the surface
- Brush the grout into the joints using a rigid brush at a 45° angle to avoid disturbing grout that has already begun settling
- Use a pointing tool to push the grout firmly into the joints
- Wipe excess product from the porcelain with a damp sponge or cloth and allow to dry
Do’s and Don’ts of Laying Porcelain Paving
DO
- Do use a solid compacted sub-base
- Do apply primer to every slab
- Do allow proper drainage falls
- Do check levels regularly
- Do leave paving to cure before grouting
- Do keep the surface damp when grouting
- Do clean excess grout quickly
- Do use porcelain-specific tools and materials
- Do choose an experienced landscaper
DON'T
- Don’t use the dot-and-dab method
- Don’t lay directly onto soil
- Don’t skip the primer coat
- Don’t rush installation or drying times
- Don’t ignore drainage requirements
- Don’t grout onto a dry surface
- Don’t drag tools across the slabs
- Don’t use unsuitable laying patterns
- Don’t pressure wash too soon
- Don’t use standard paving products on porcelain
Incorrect installation techniques can lead to a range of issues with your Porcelain Paving, including:
- Loose grout caused by water getting underneath
- Uneven slabs creating trips, slips, and water pooling
- Insufficient dig out leading to movement over time
- Poor drainage causing excess standing water
- Dot-and-dab installation creating uneven pressure and potential breakages
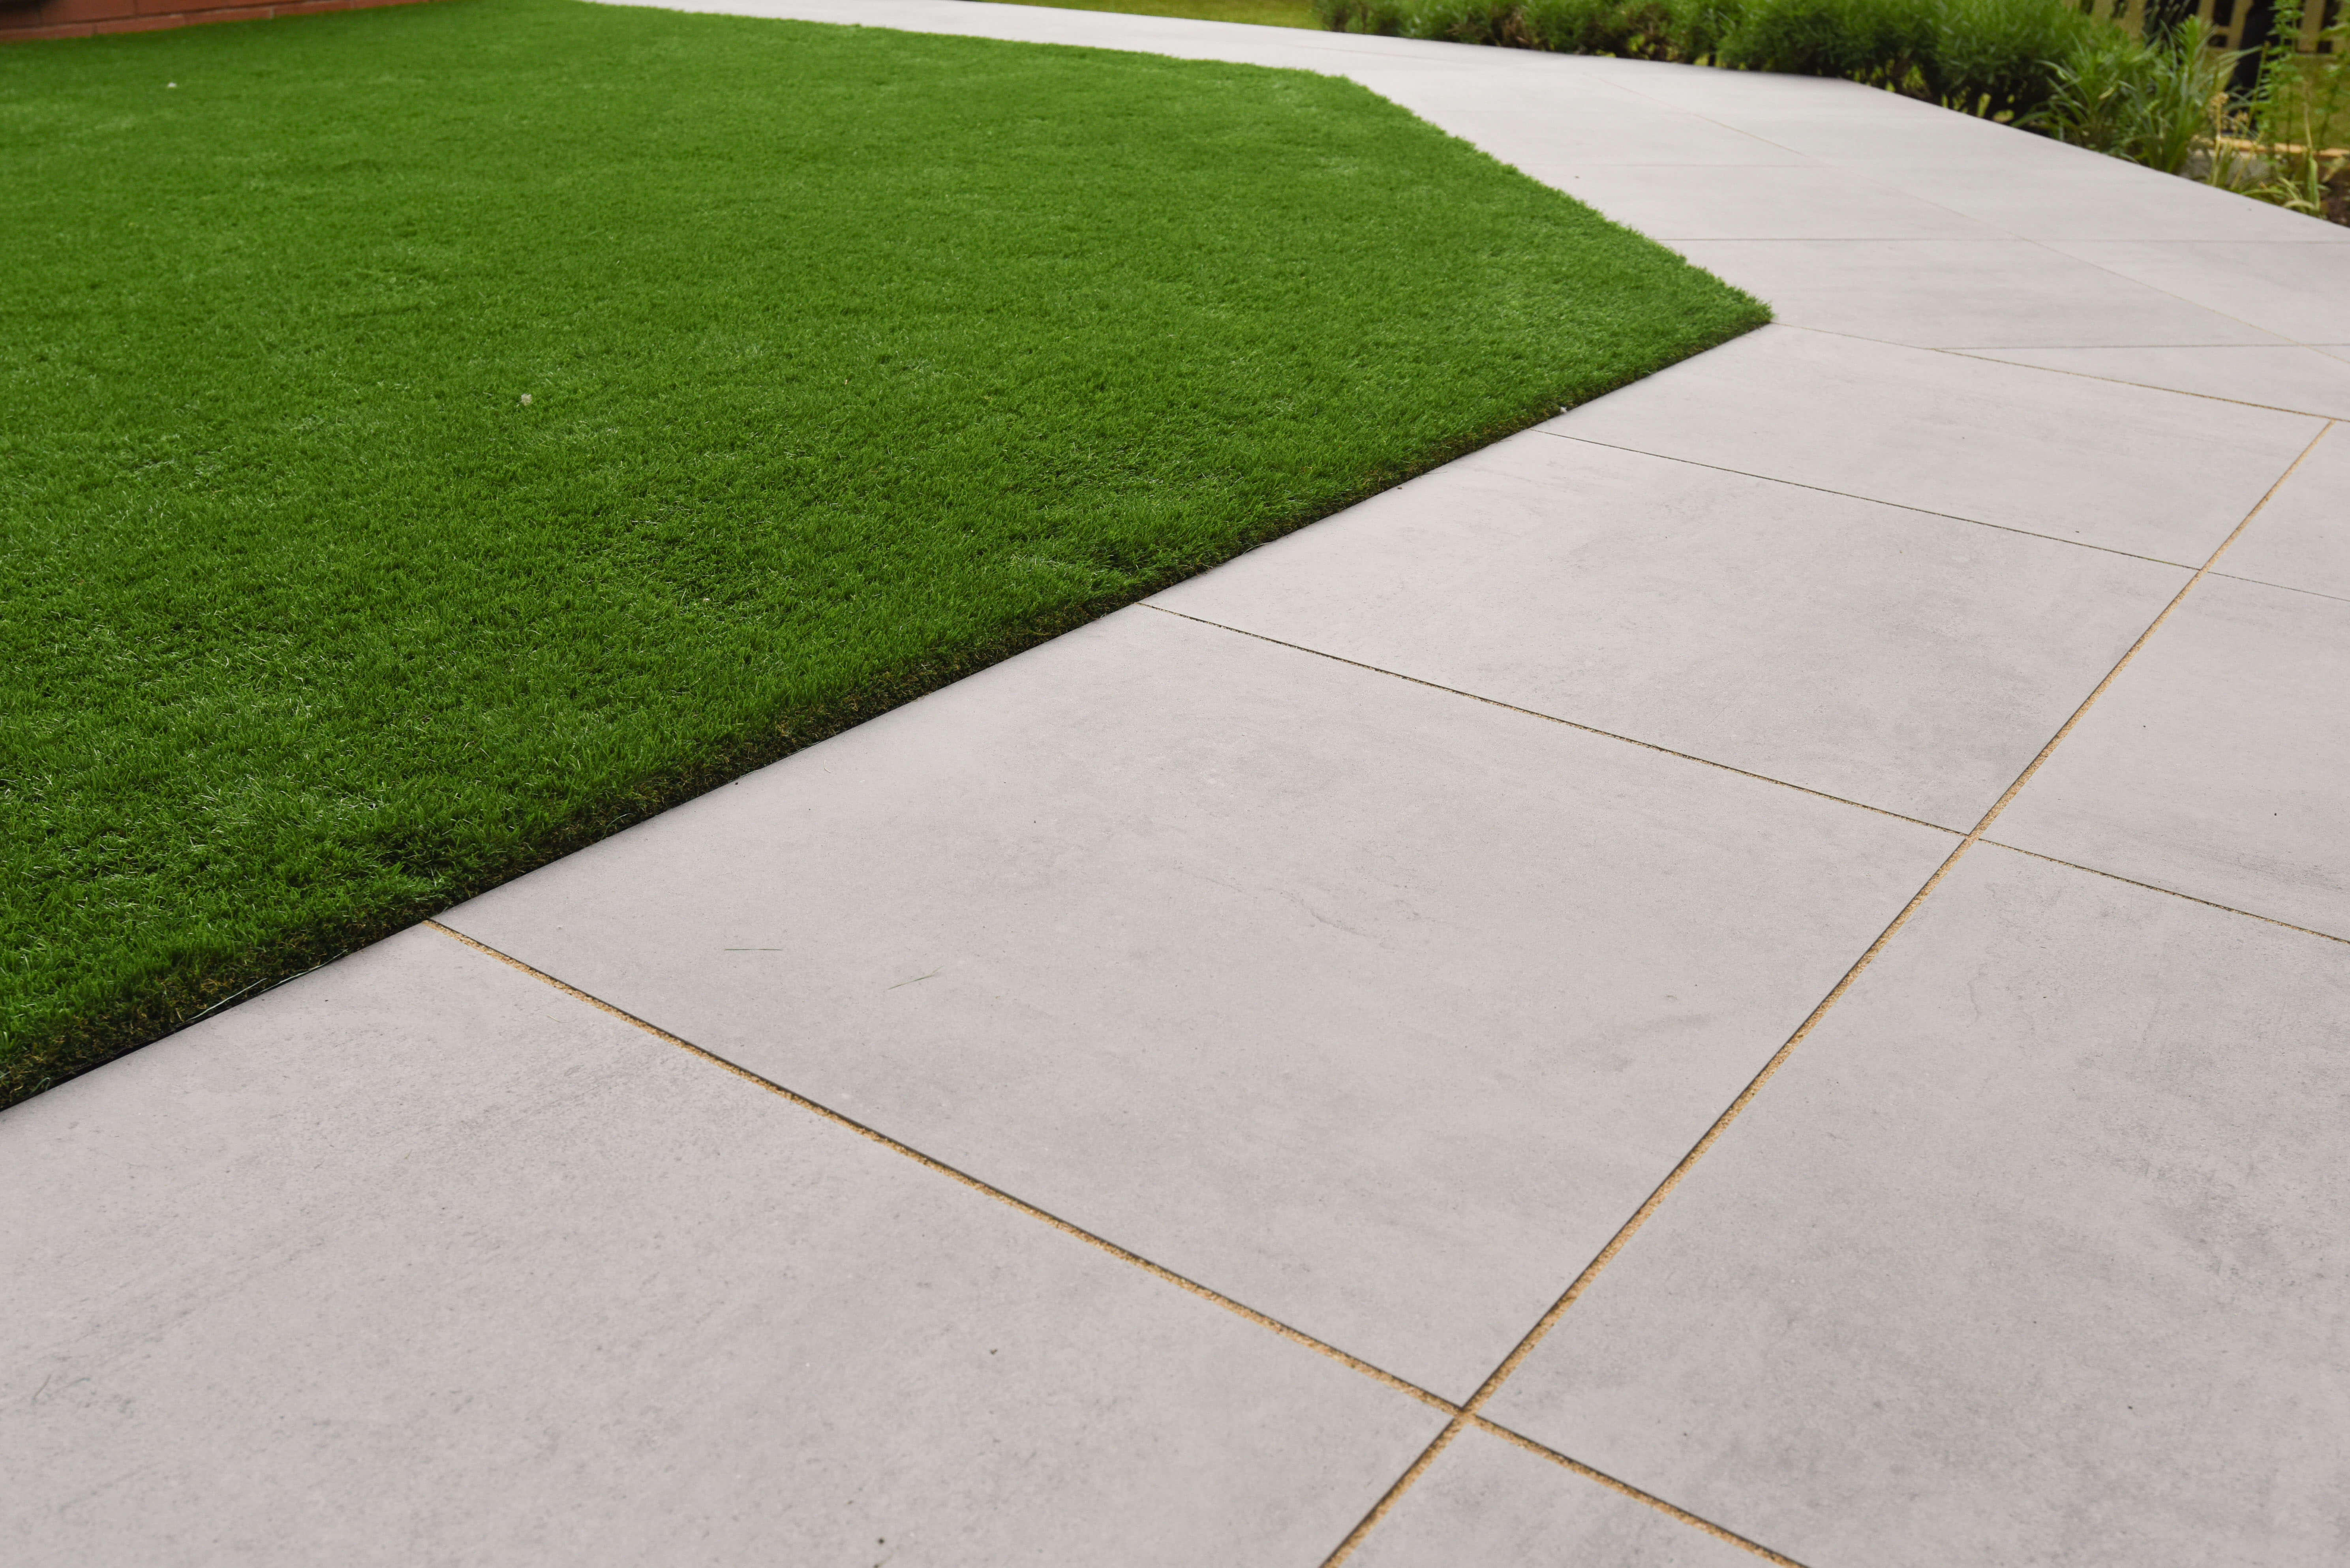
Porcelain paving is a durable, low-maintenance solution that can completely transform an outdoor space when installed correctly. By using the right preparation methods, installation materials, and grouting products, you can create a patio that looks great and performs for years to come.